Before and After Pictures

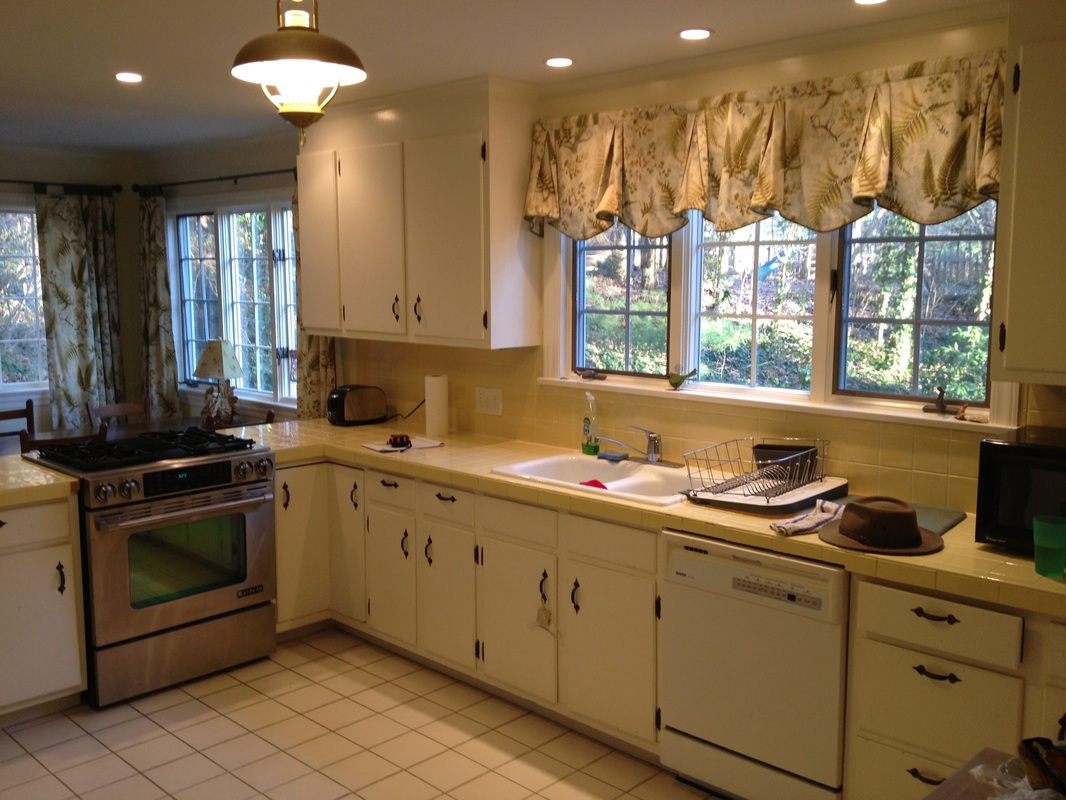
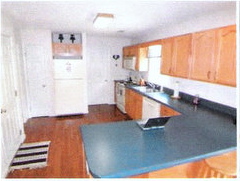
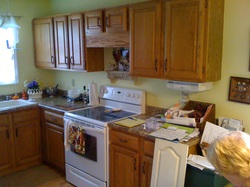
Before picture of a DIY mixed green with glaze and cream white on the other cabinetry. As you can see, 1970's Ford Pinto green does not go well with anything.
|

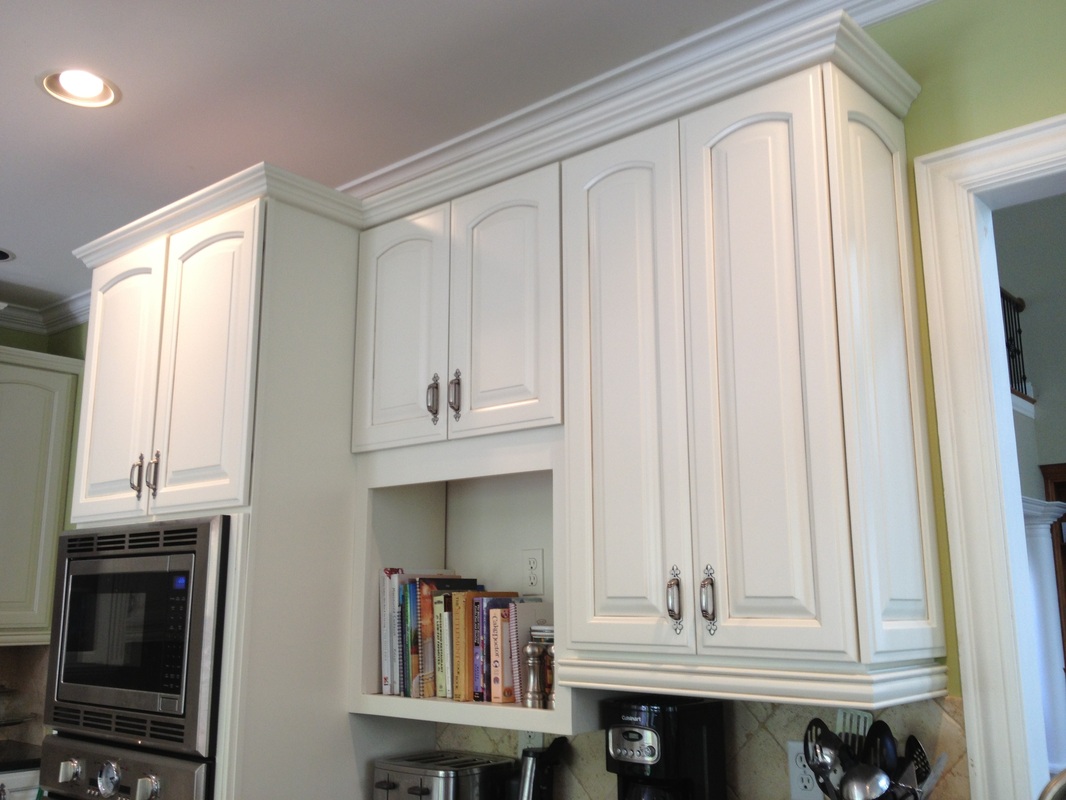
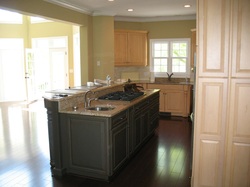
After picture of kitchen cabinets changed to Bright White and Island refinished in Fired Earth warm black.
|

Original look of bathroom vanity. Pickled oak in this upscale bathroom.

|

Refinished painted and stained bathroom vanity in two tone white with a charcoal glaze and a deep brown stain in the center. Upper half was custom built by one of our local craftsman.

|
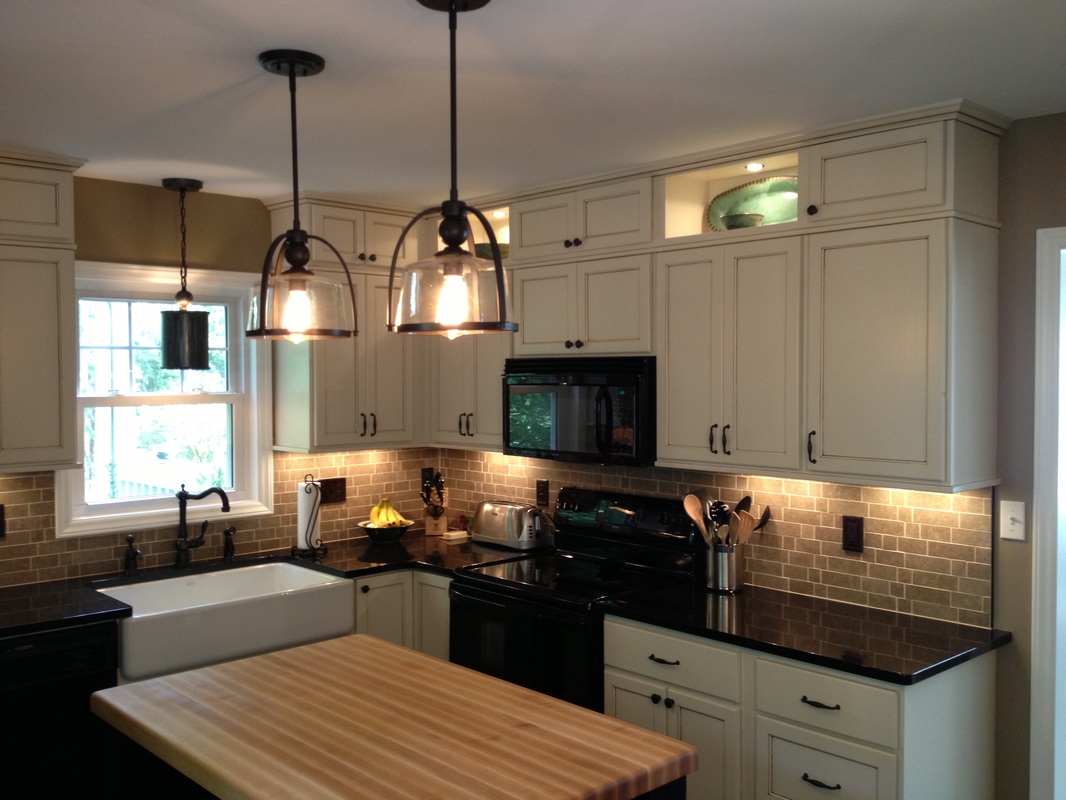
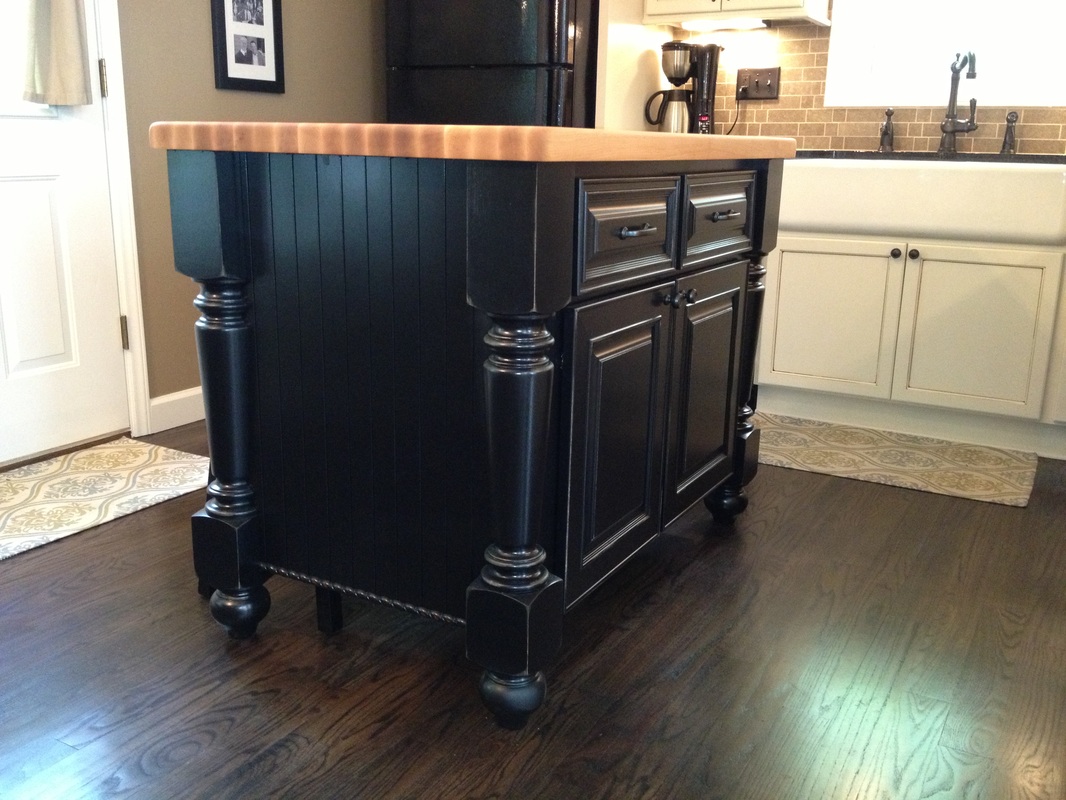
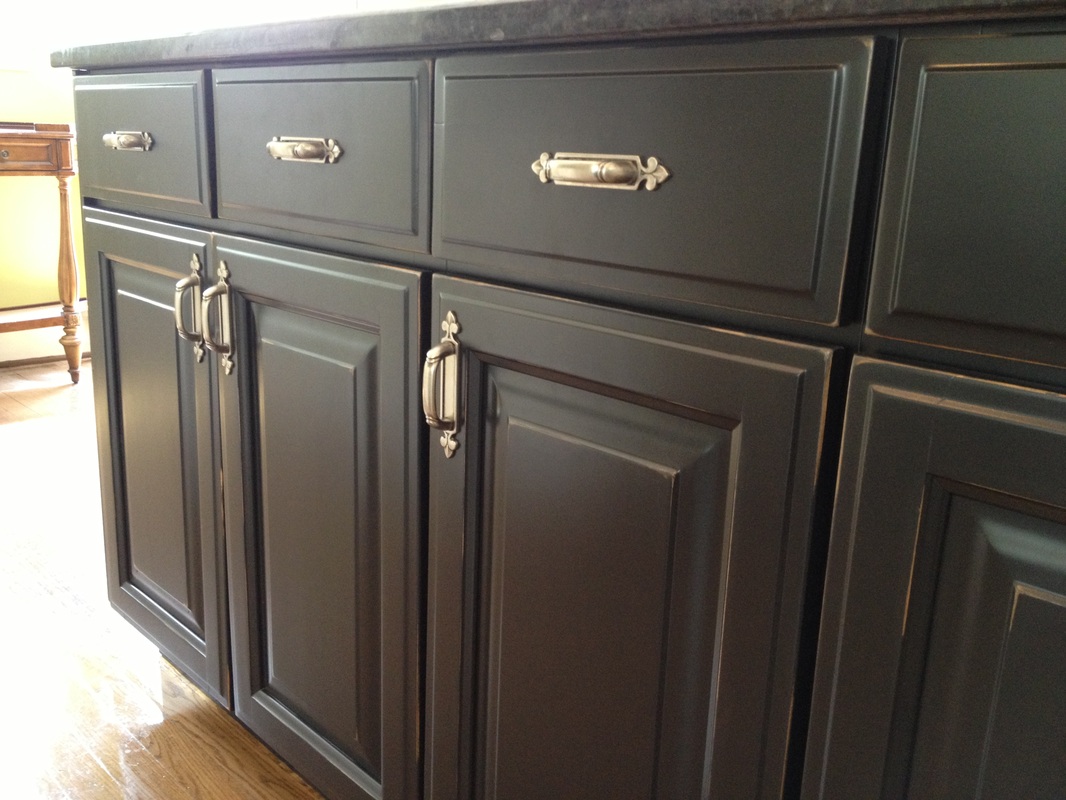
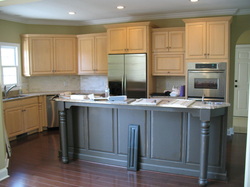
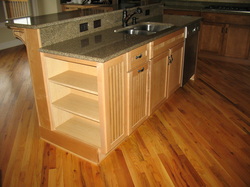
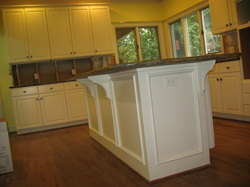
Closer view of the custom kitchen island with it's black finish and aged rub-through to highlight the natural wood underneath.
|
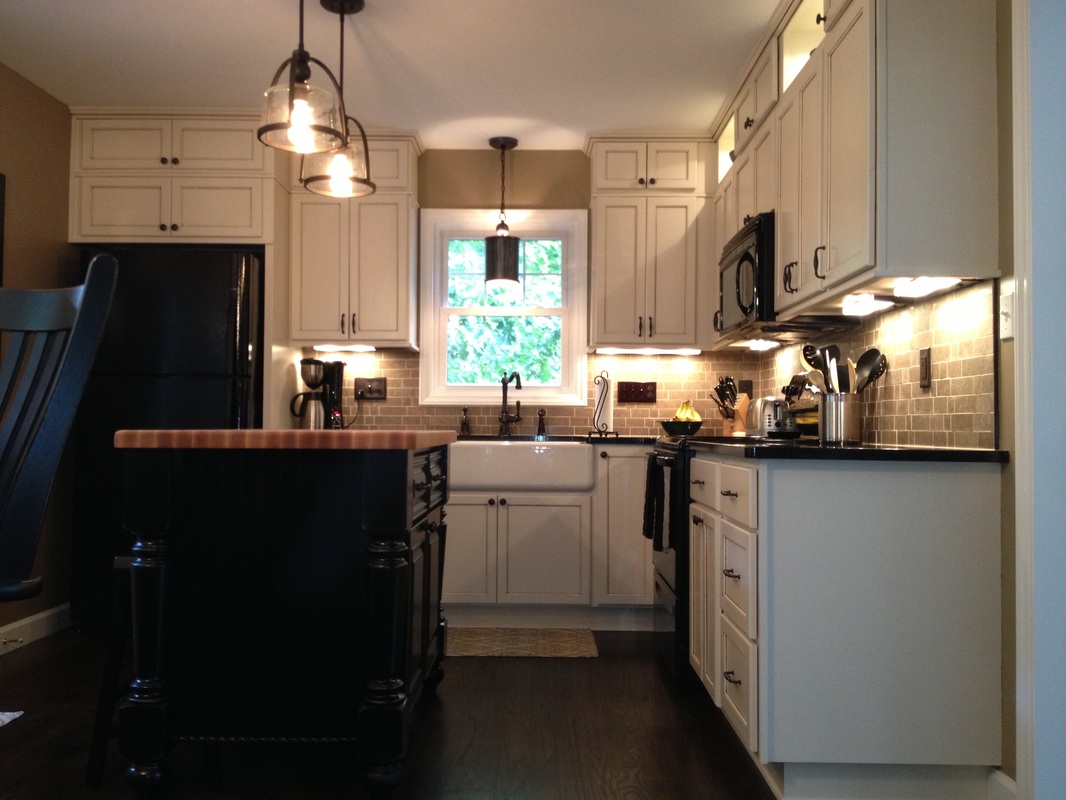
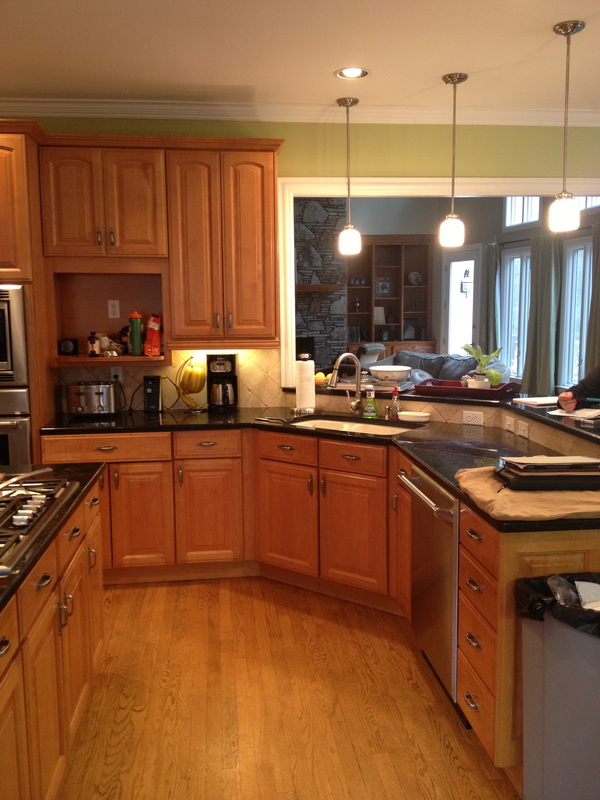
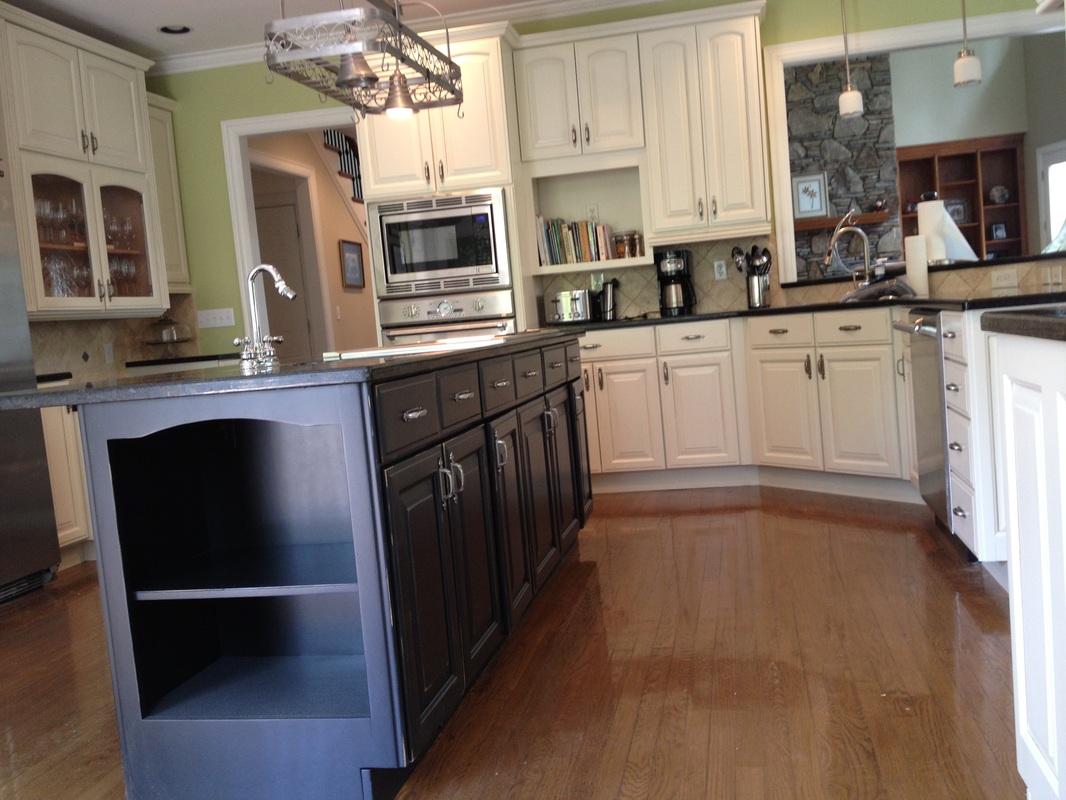
Redesigned kitchen in Kenilworth. Originally light maple taken to a soft off white with glazing in deeper recesses. Kitchen island was custom built, finished in a black with an aged rub through to highlight the natural wood underneath.
|
|
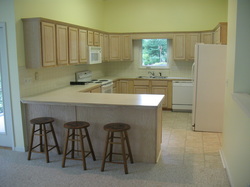
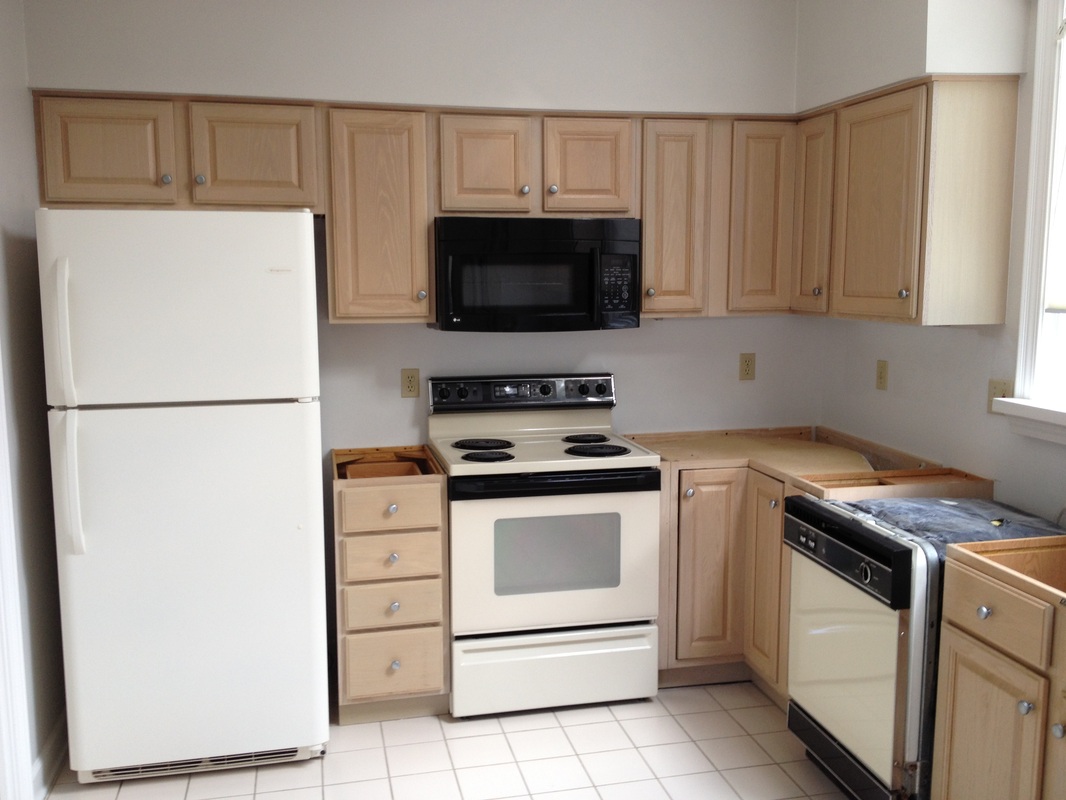
BEFORE Pictures of light maple cabinets. Updated to a cream color with a black island.

|
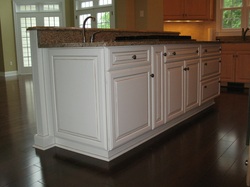
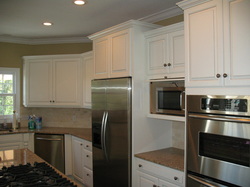
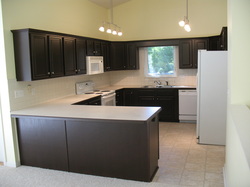
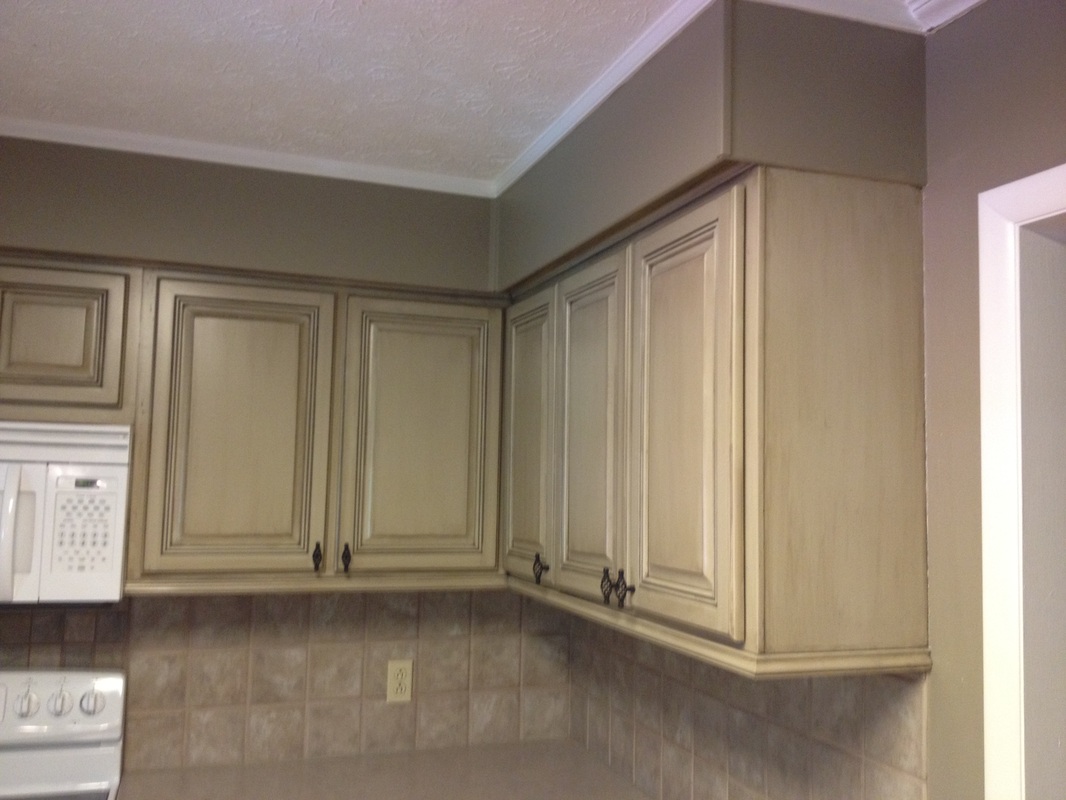
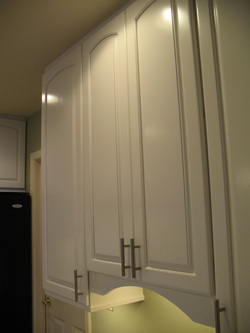
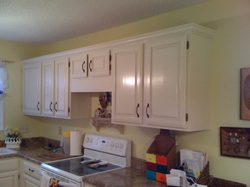
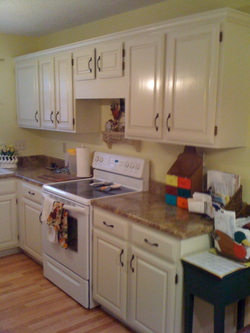
AFTER Pictures: Cabinets changed to a custom cream color with glazing.
|
|
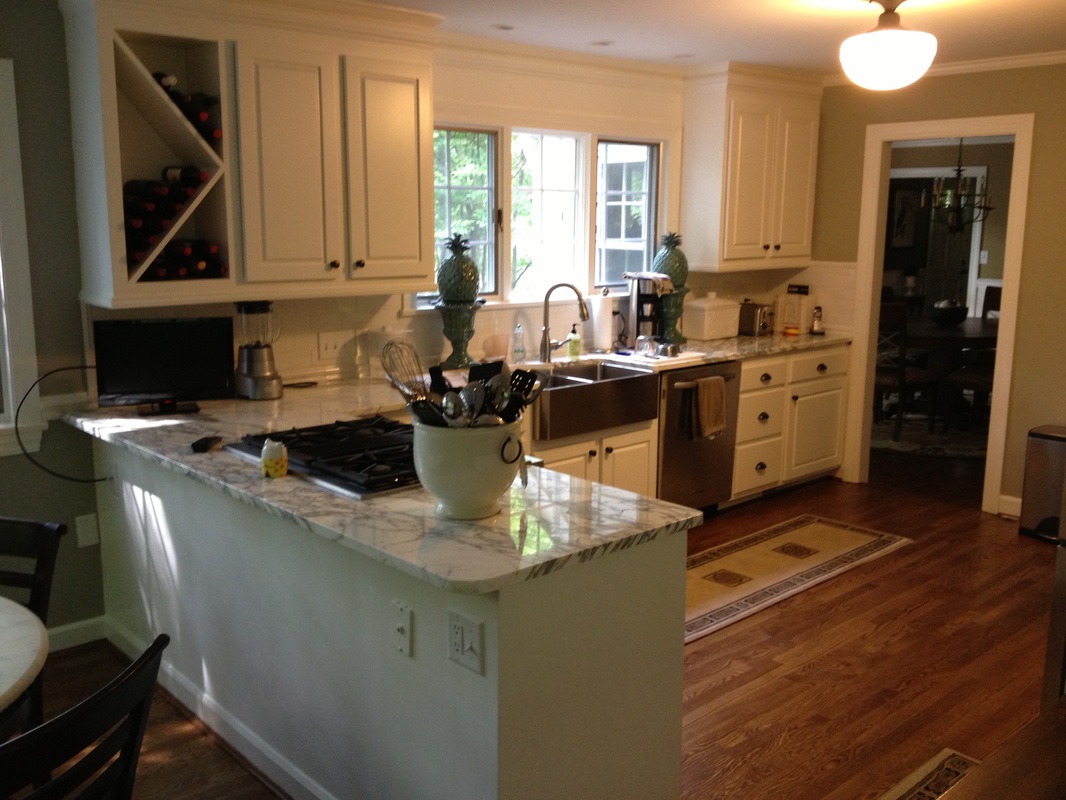
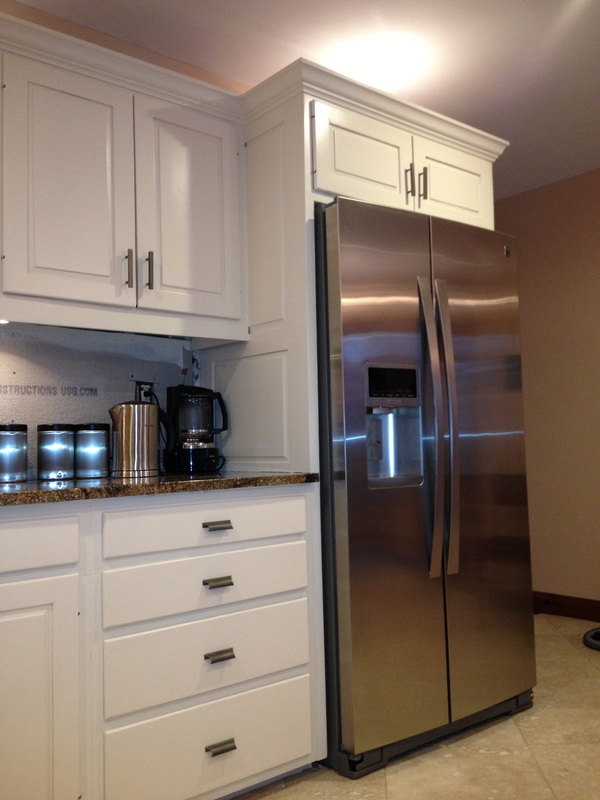
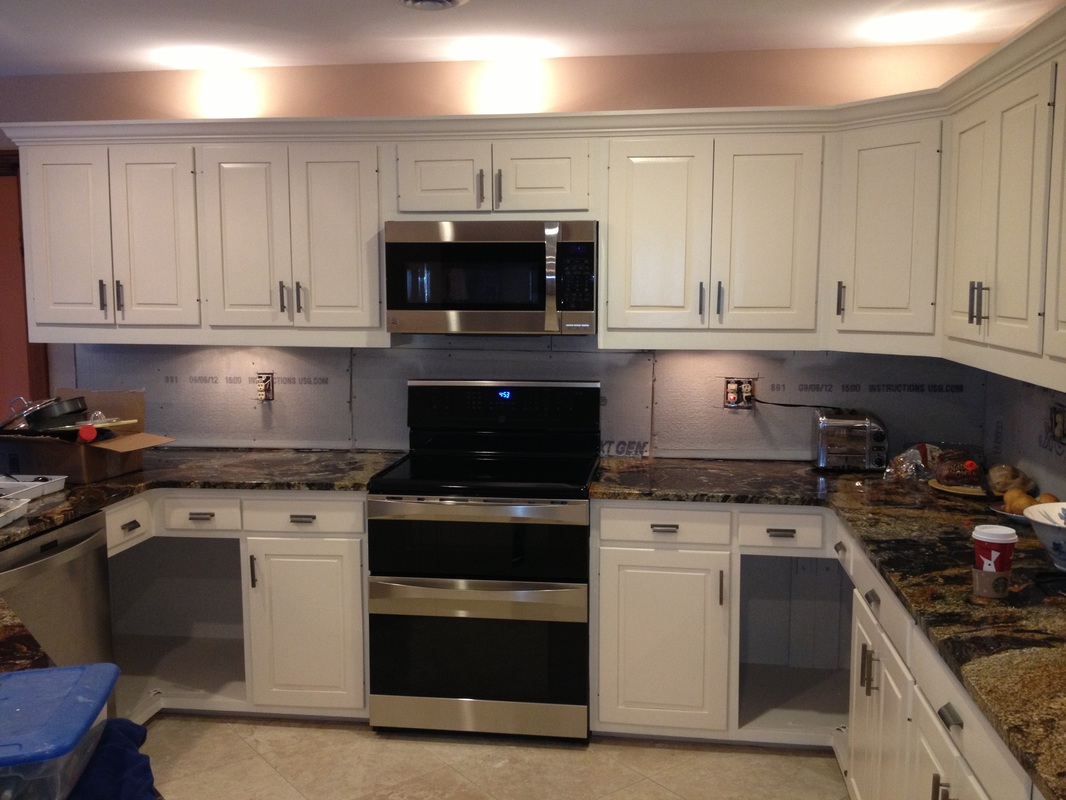
New raw raised panel doors were painted in a modern white along with rest of refinished cabinetry to match the newly installed marble.
|
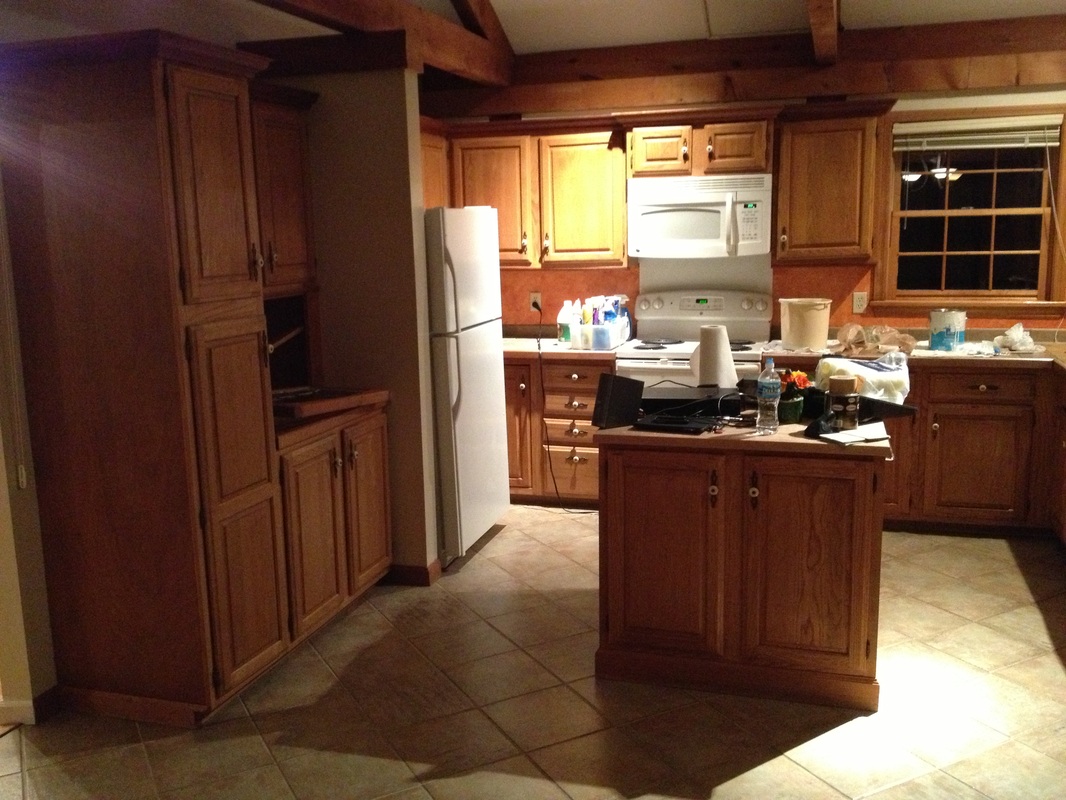
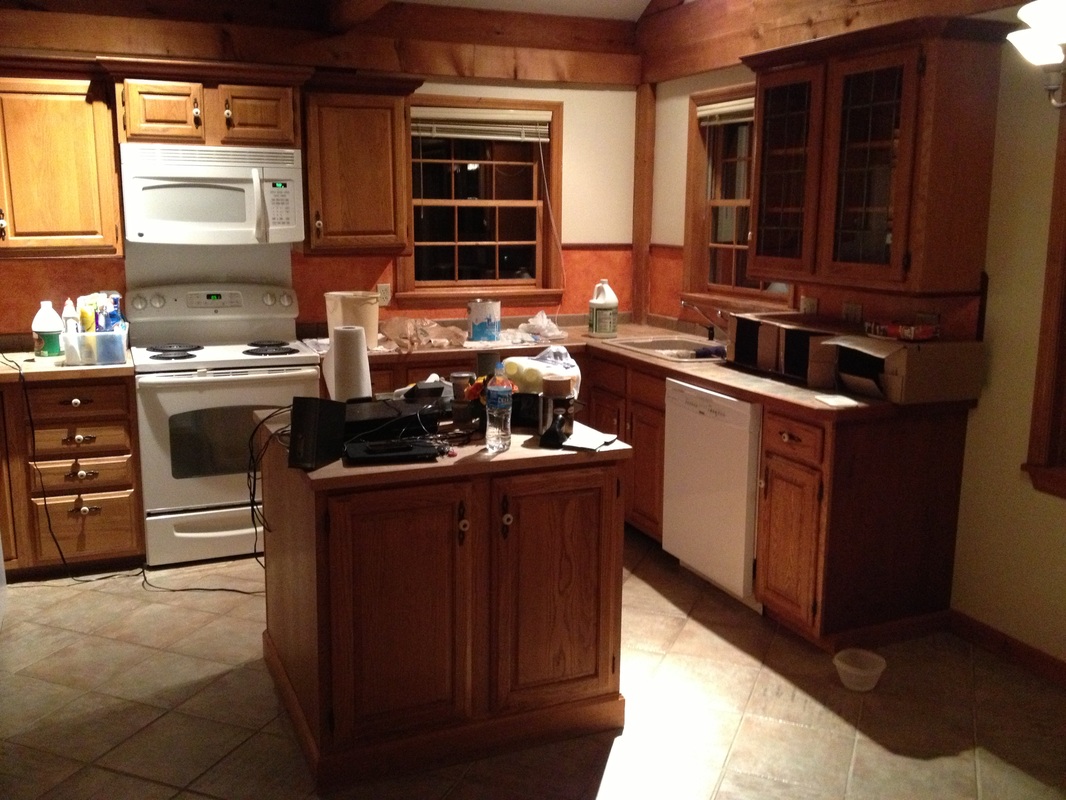
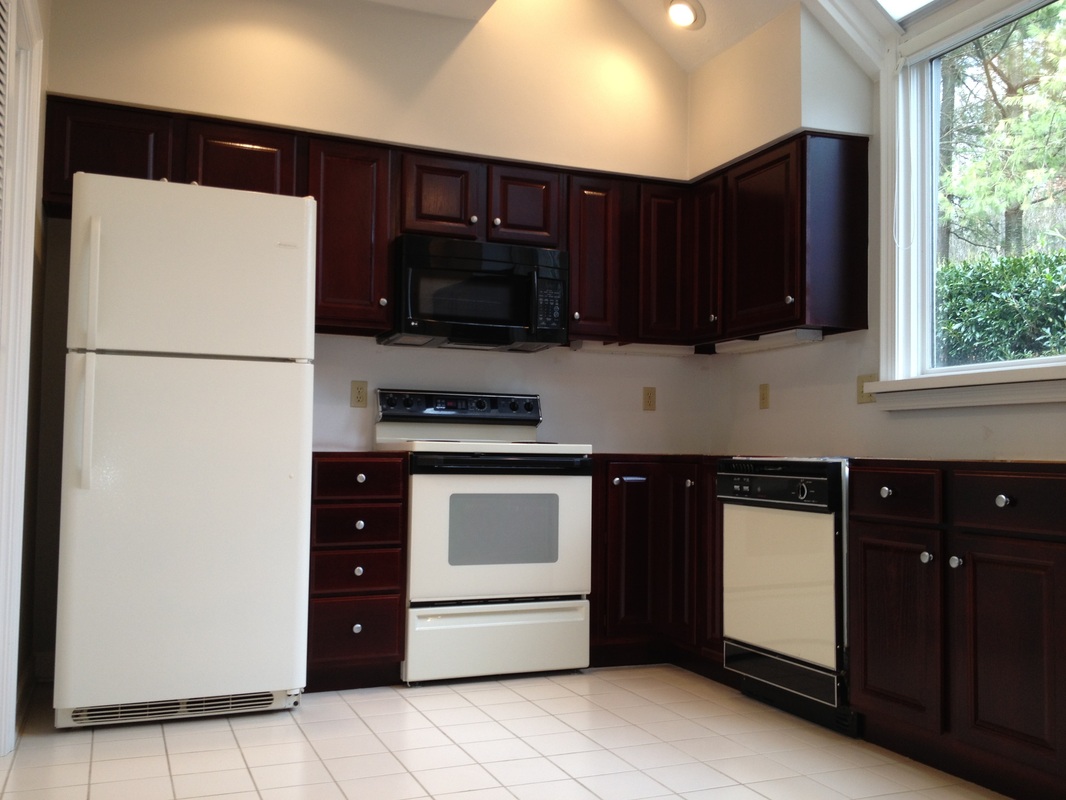
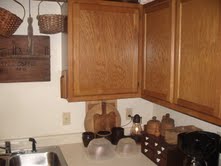
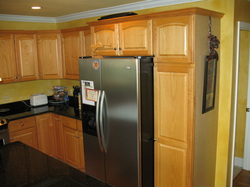
Original color of cabinets. This house featured beautiful vaulted ceilings with solid wood beams running though-out the house. There was a lot of natural wood color and an overall monotone feel to the kitchen.
|
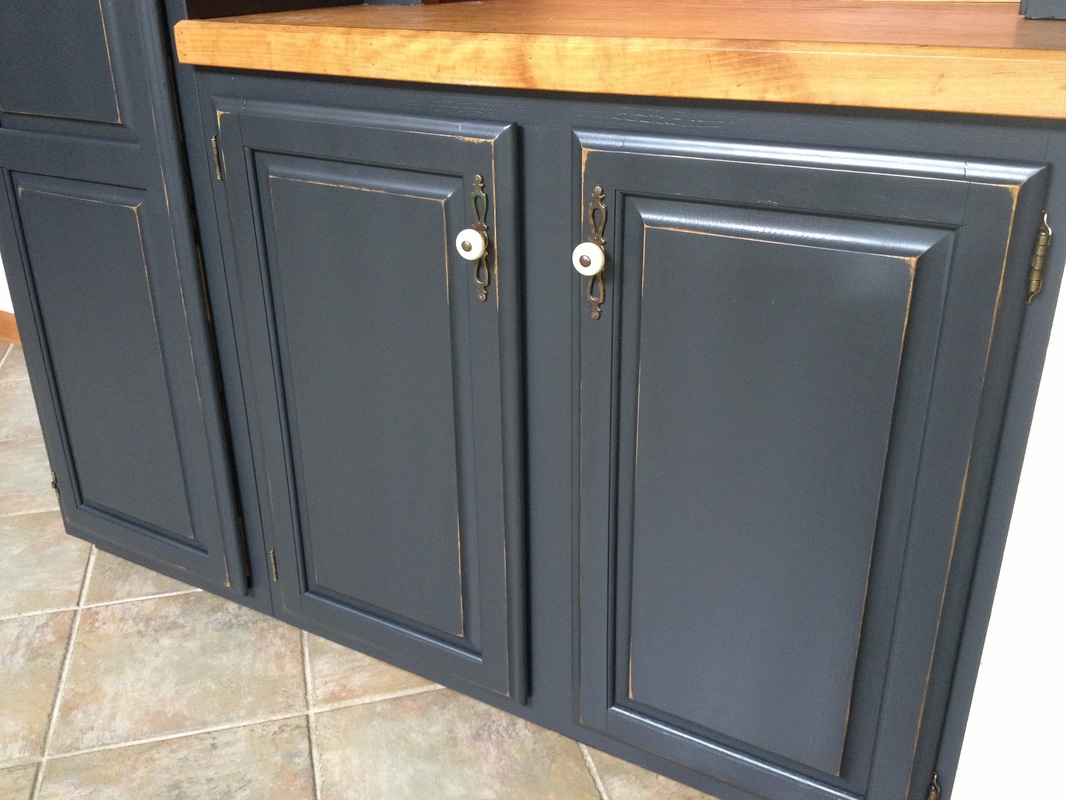
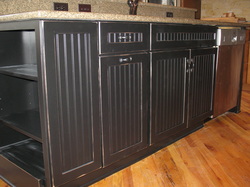
Professionally painted cabinets taken to a rich black with a rub-through showing the golden oak underneath. Original hardware was reused for a warm cottage feel.

|
 Before - Picture with green island and peach colored cabinets. 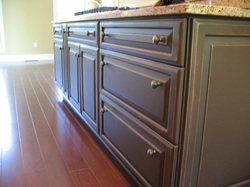 Before: green island. |
 After - Picture island changed to white with pinline glaze. 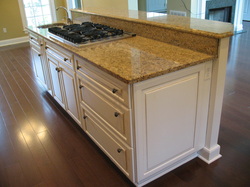 After - Picture of refinished island. Glaze pin-lined into recesses. |
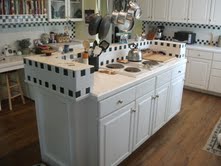
 Before - Picture and choosing colors with client as seen by the samples on the kitchen island. |
 After - photo of light peach/pink colored cabinetry taken to clean white with pin-lined glaze. 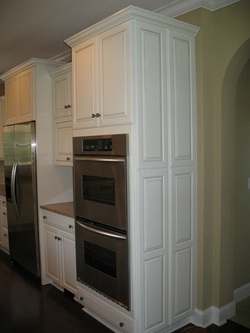 After - Picture of white with pinlined glaze to match kitchen island. |
Pickled Oak Before and After Pictures Below:
 Before - Picture, outdated pinkish pickled oak cabinets. heavily damaged. 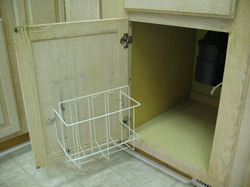 Before - picture, damaged oak cabinet doors shown. Water damaged oak is seen in the upper left corner of the picture. 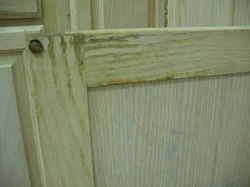 Before: Damaged pickled oak. This is what water will do over the years. Also notice the dry rotted door bumpers. 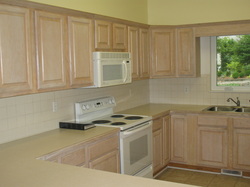 Before - picture of pickled oak. |
 After - pictures of dye stain toner and clear coat. Changed to a warm deep mahogany color. Hardware added. SpecialtyCabinetFinishes.com 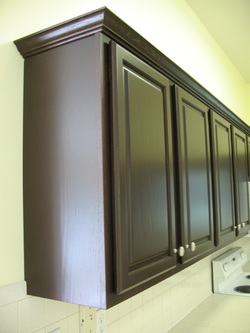 After - picture close up. Cabinets transformed and look brand new. 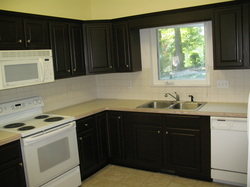 After - picture of the refinished oak cabinets. This kitchen instantly looked modern, new, and of a higher quality in wood work. |
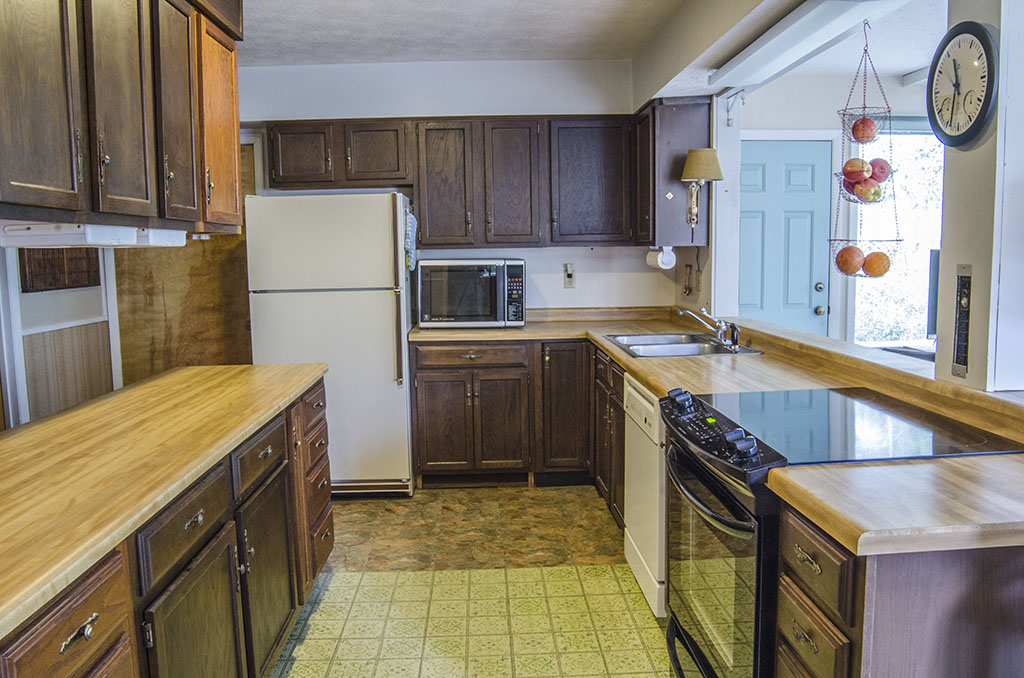
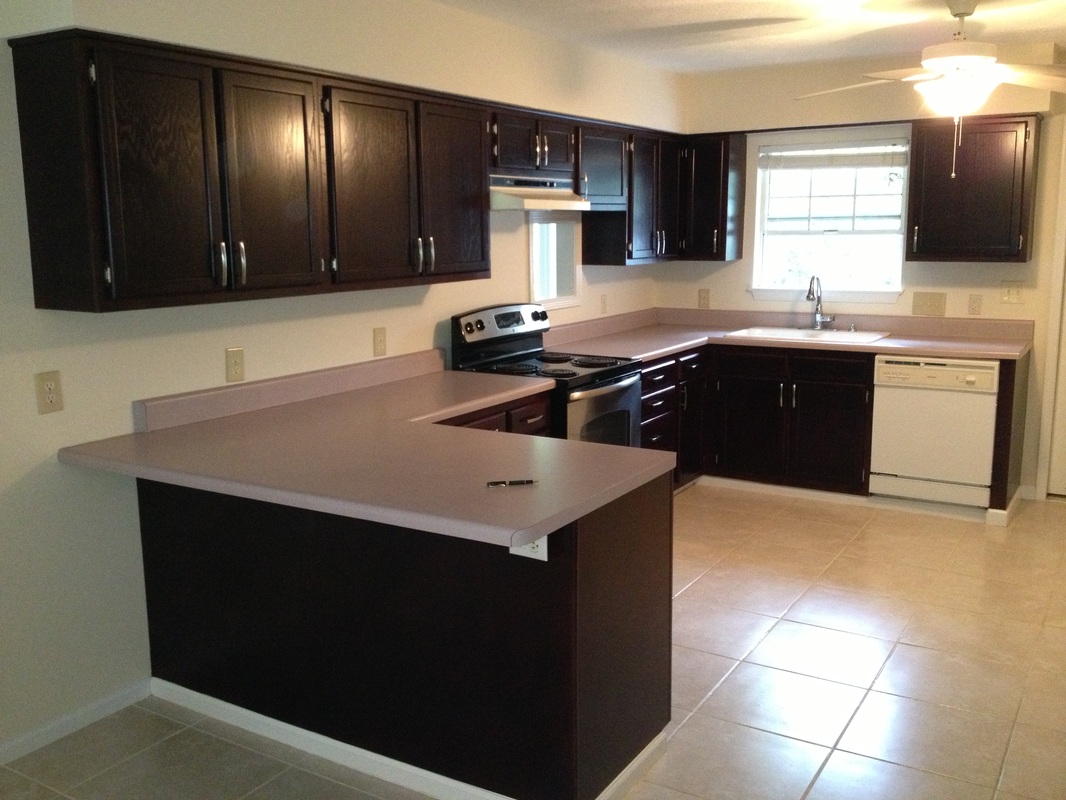
Dark dated oak before their total kitchen makeover.
|
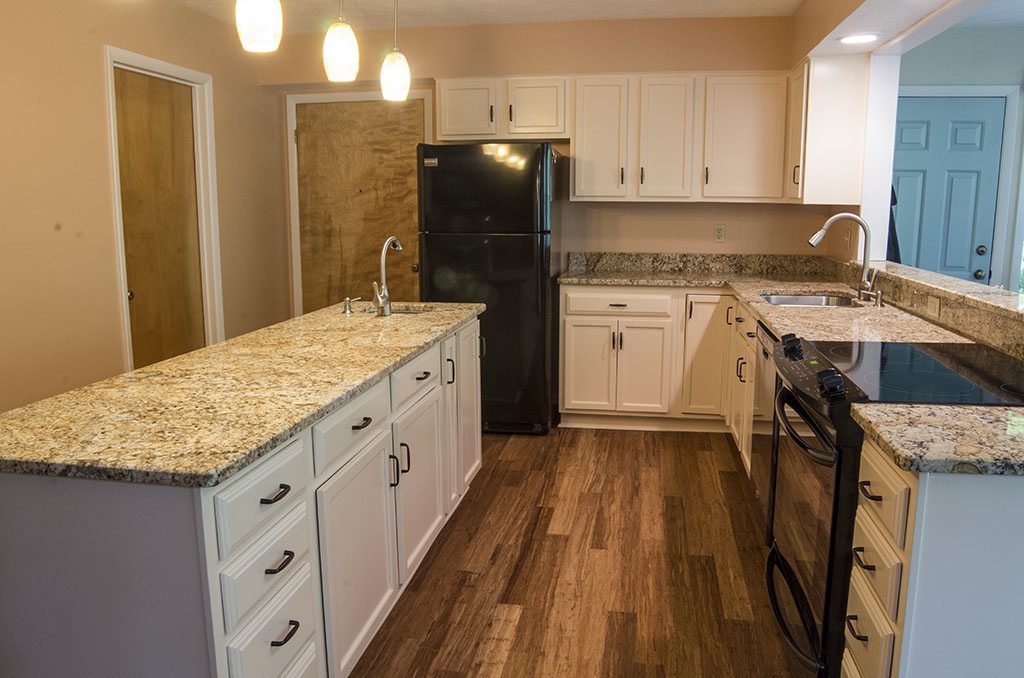
Complete transformation with new floors, countertops, pendant lighting, hardware, and refinished existing cabinets.
|
Peeling Latex Paint over Oil Based Paint - New cabinet doors installed

Before picture of latex paint over oil based paint. Older cabinet doors pictured here.

Latex paint needs to be scraped off before sanding to gain proper adhesion for coatings. This is what happens when it's not done right the first time.
|
After picture of glazed cabinets with khaki base color. New hardware added, new doors added and finished, lower molding added to hide undermounted lights.

|
Entry Doors
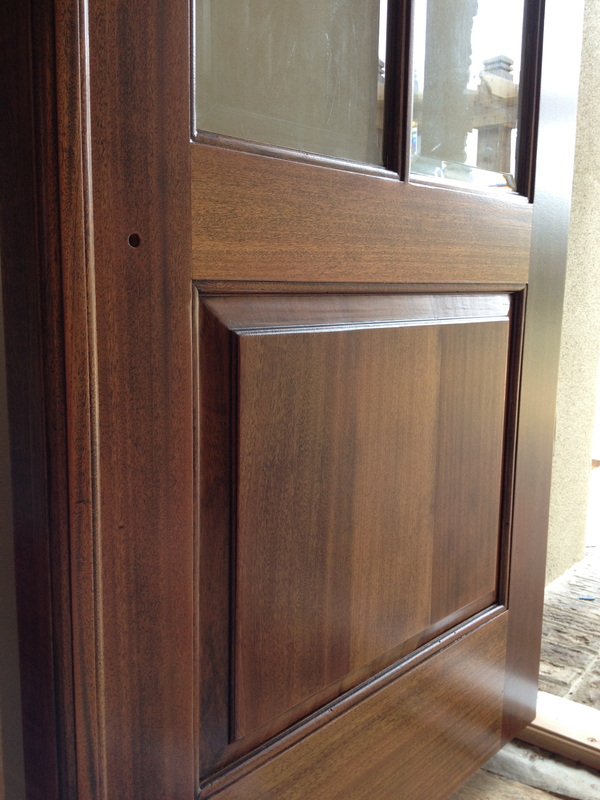
Natural mahogany showing through a newly applied clear coat.

|
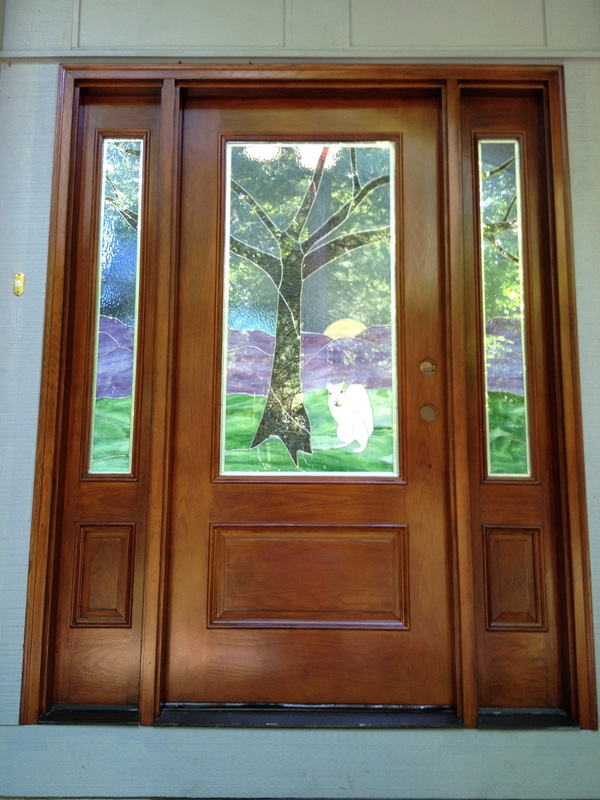
Golden Honey Oak Front Door changed in color to a darker mahogany color tone.

Before Picture of golden honey oak. Outdated and in need of a lot of attention.
|
Dark Oak Kitchen Cabinets changed to creamy white to match granite

Before picture of dark brown oak. This client had recently improved their kitchen with very nice granite and wanted the same for the cabinets.

|

Kitchen cabinets transformed to match the new granite as well as lighten up the kitchen creating a fresh lively atmosphere.

|
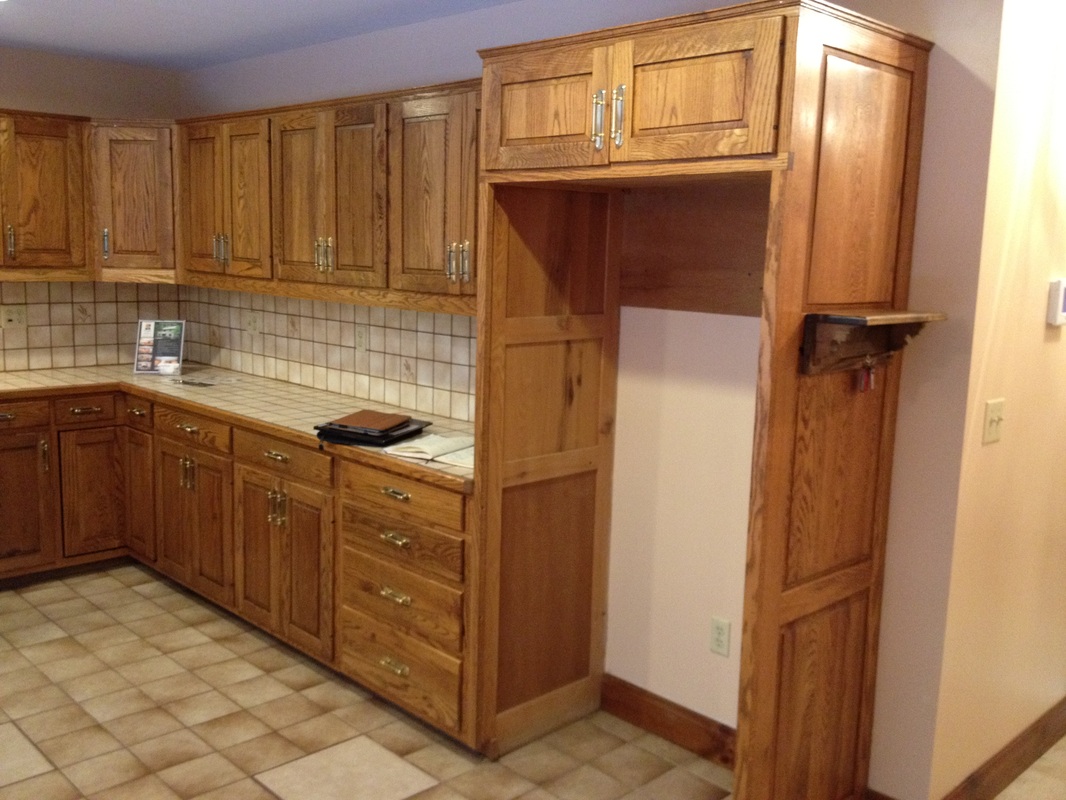
Outdated Pickled Oak Updated to a Dark Cherry with New Hardware
Original pickled oak cabinets

Here is another kitchen where the house was on the market to be sold. The real estate agent and client thought it was best to update the kitchen to aid in the sale.
|
Changed to a dark cherry. The appliances were changed to stainless steel and new countertops added to dress up what was a tired out of date kitchen.
Cabinets toned to a darker warm color and new kitchen hardware and matching hinges were added.
|
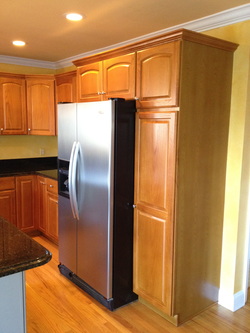
Complete Transformation
Original outdated oak cabinets, old hardware, and raw unfinished wood within the cabinets.

|
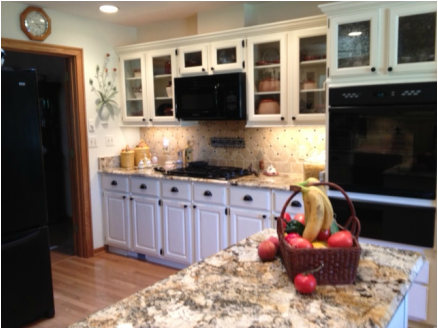
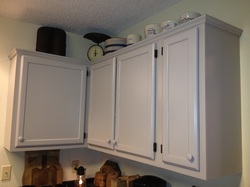
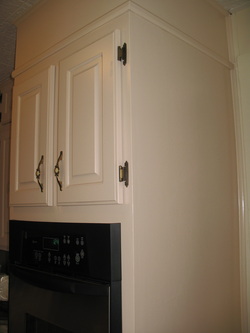
Cabinets were changed to an antique white,new hardware added, new hinges, interior of cabinets were finished, and crown molding was added along with lighting above cabinets and under-mounted lighting above countertops.
|
Dark Oak Cabinets changed to Gray
 Before: Dark oak with no hardware. Cabinets were in great shape but lacked height and appeal. With the wood floors the kitchen felt enclosed, dark, and smaller than it really was. 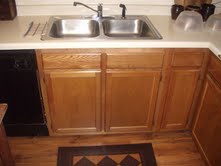 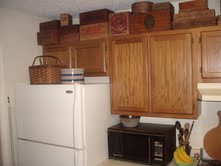  Before - picture. Here you can easily see the addition of crown molding and undermounted cabinet embellishments. 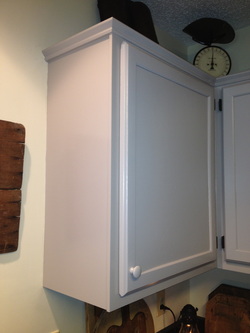 After - picture of gray up close. This dark oak was instantly updated. |
 After - picture of oak changed to grey. Crown molding added, hinges painted, wooden hardware added. Wood pores filled. 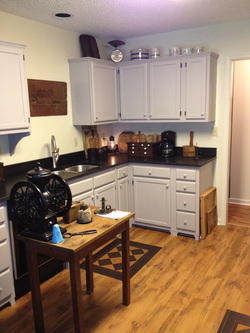 After: Crown Molding allowed for the cabinets to appear larger, give them more height, and to give the over all impression that they were higher quality cabinets installed more recently. 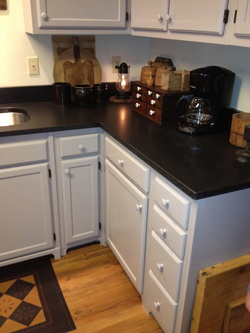 After: Refinished painted oak cabinets changed to grey. Looks great with the matte black countertops and wood floor. 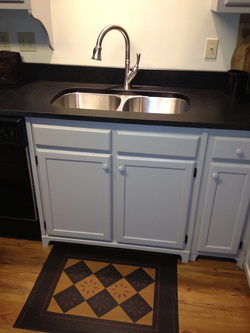 After - picture of oak. Black matte soap stone looking granite was added. What a huge improvement! |
Light Colored Oak Changed to Off White/Light Yellow
 This is my only before picture. Here the kitchen was painted to a light white/yellow. These were inexpensive older cabinets. 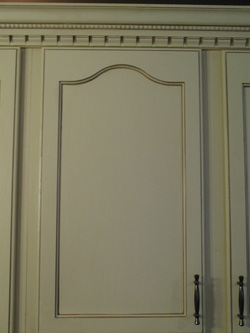 After: Closer look at the finished cabinet door. Pictured here is the glaze in the crown molding and deeper recesses. SpecialtyCabinetFinishes.com |
 After - picture of oak. Changed to light white/yellow with glaze. Crown molding added, under-mount molding added, hardware changed, Undermounted lighting added. 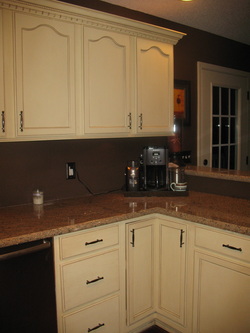 After - picture of oak. Crown molding can easily be seen here. This picture is actually deseaving. These cabinets are much taller and not as wide as they appear here. |
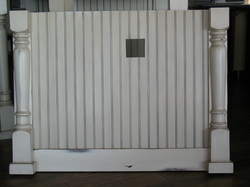
The Cliffs Fire Damaged Island and Repair
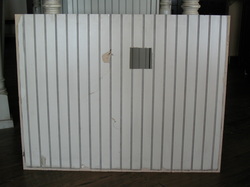 Before - Picture of cracked and torn bead board veneer on Island. 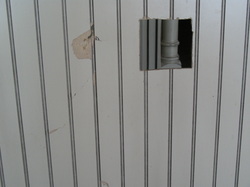 Before - picture of bead board up close. The entire piece of bead board was replace and color matched. 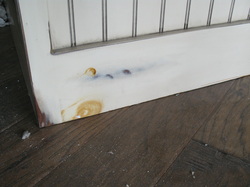 Before - picture of heat damage caused by the house fire. Here tannins in the wood knots were heated up and leached through to the surface. |
 After - picture of new bead board matched to original paint and glaze. This is the refinished piece before it was reinstalled onto the island. SpecialtyCabinetFinishes.com 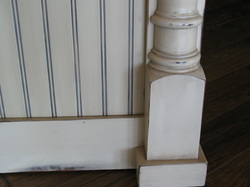 After: Close up of newly matched bead board connected to the original painted wood trim. This was located in the Cliffs neighborhood down in SC. 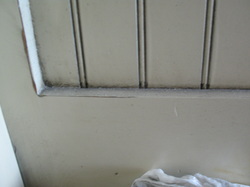 After - picture of heat damaged area. Here the tannins were sealed, paint matched, glazed, aged, and sheen was matched to original surrounding surface. |
Water Damaged Cabinet Panel
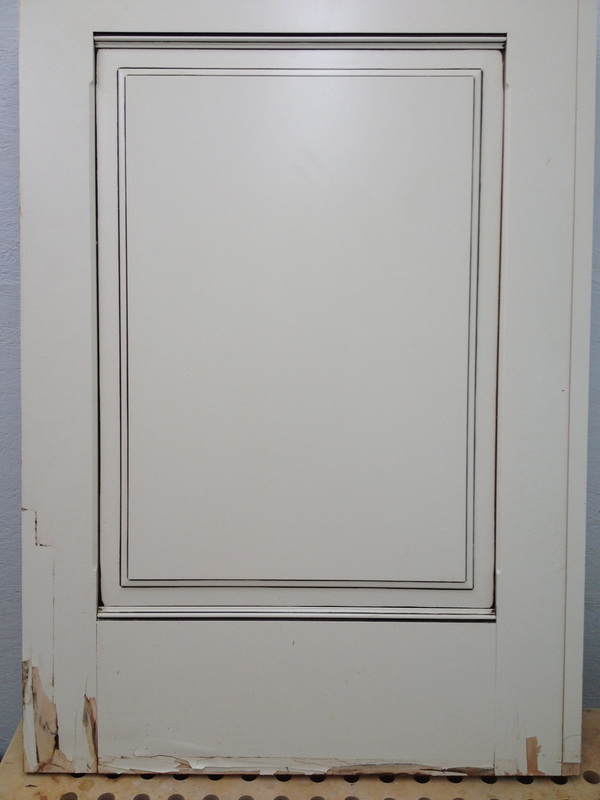
Water damaged lacquer from a kitchen pipe leak.

|

|
Brown dated cabinets taken to a warm cherry/mahogany color tone

|

After picture where color tone was changed to a deeper soft red cherry color in this bathroom.
|
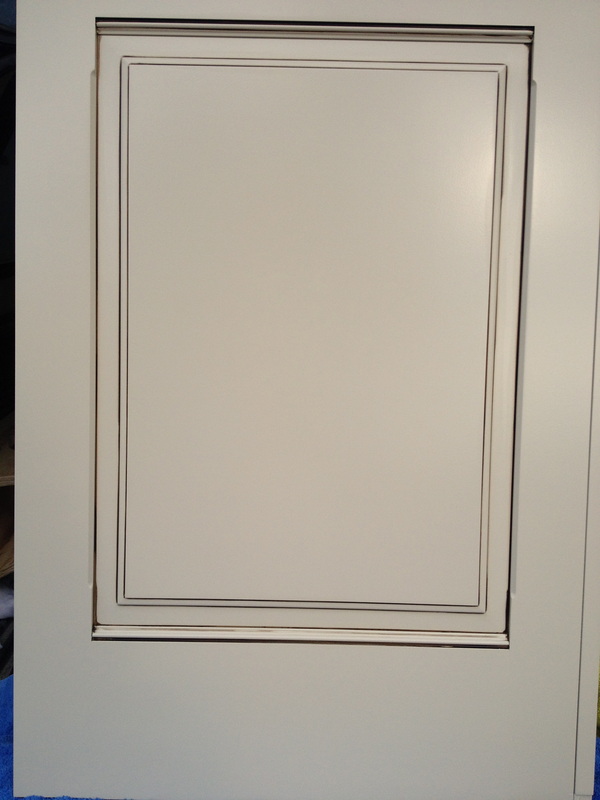
Dated custom ambered cabinets taken to a clean off white cream


|

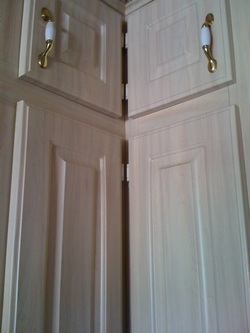
Glaze pin lined into the deepest recesses to highlight the cabinet door wood working design.

|
Pickled pink/peach Birch cabinets changed to a clean modern white
 Before - picture of pickled pink colored birch cabinets. High quality cabinets but out of date pickling. 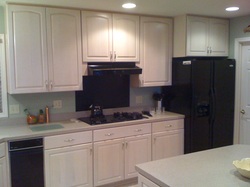 Before - picture of pickled cabinets. This pink color cast made the gray countertops to even appear pink. |
 After - picture changed to a clean modern white. New hardware added and undermount molding. Fine Paints of Europe paint was used here. SpecialtyCabinetFinishes.com 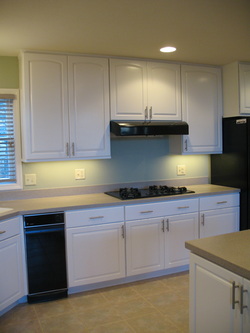 After - picture. Hard to see but the countertops now appear in the gray family. 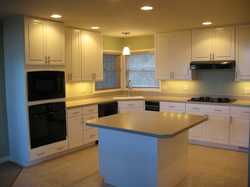 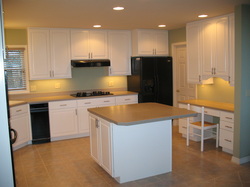 After - picture. Here you can see the kitchen desk chair which was painted to match the rest of the cabinets. |
 Before: Natural Maple Island with black glaze in grooves. 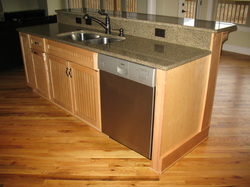 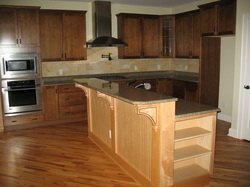 Before: Pictured here is how strange the combination was with dark cabinets and the very light colored island. Contrast is not a bad thing but here it just was not working. 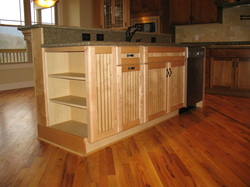 |
 After: Painted to a soft warm black. Edges were distressed just enough for natural maple to show through. 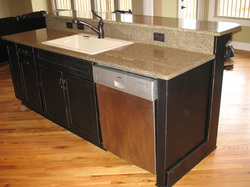 Kitchen island front shown here. This was a nice complimentary color for the wood floors. Before the island was lost in the large room.
SpecailtyCabinetFinishes.com 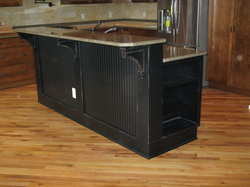 Refinished backside of kitchen island. 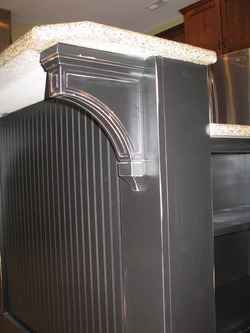 Kitchen island up close. You will notice dust on the surface which came from other work being done in the house.The dust was simply cleaned off later on. |
Larger remodel. My work is only the cabinets and island.
 Before - picture. Here you have very outdated taste specific tile. The cabinets were actually quite old and damaged, however the wood was of higher quality. 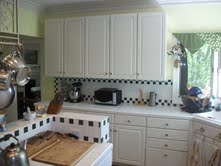 Before - picture. Here you can see the cabinets before the crown molding was installed and the refinishing. 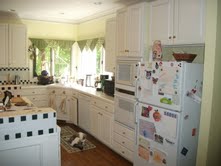 Before - picture. You can't see the chipped paint, grime, and grease from years of use. The transformation was incredible. 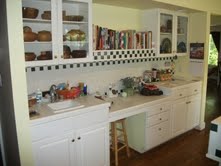 Before picture. |
 After - picture. Changed to a clean modern white without glaze. New hardware added, crown molding was added, and new granite countertops. You can see that other work was still being done to the backsplash.  After - picture. Here you can see the newly added crown molding which enhances the look and height of the cabinets. The backsplash was still not completed yet. 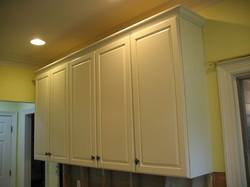 After - picture close up. Clean smooth factory finish shown here. New hardware and just a great look. SpecialtyCabinetFinishes.com  After - picture. You can see tools from the granite installer. |
Honey Golden Oak taken to a warmer rich cherry color
 Before - Picture. Here the oak is an older very light honey/golden oak and has a lot of yellow in it. 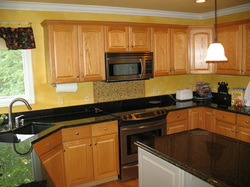 Before - Picture of light oak. 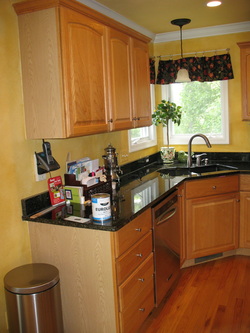 Before - picture. Notice the non matching cabinet end veneer. This plastic veneer did not the original cabinets at all. |
 After - picture. hard to tell in the pictures but it was a dramatic change. The cabinets were changed to a darker rich cherry color which toned down the yellow. This was accomplished through multiple coats of toning with dye stain. SpecialtyCabinetFinishes.com 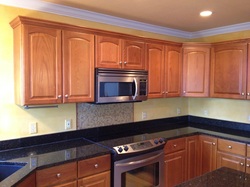 After: Deeper cherry look now coming out and less yellow in the oak. 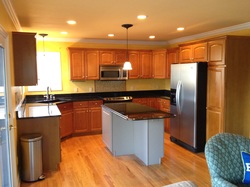 After - picture with extra color applied to the cabinet ends to allow the plastic veneer to more closely match the rest of the cabinets. 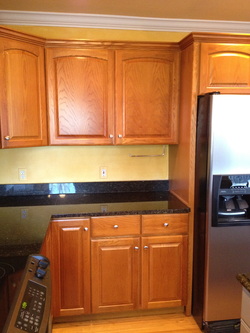 After - picture. Notice how clean and new the cabinets look.  After - picture. Close up and here you get a feeling of how warm and inviting the new color is. |
Dark Oak taken to off white with glaze. Crown molding added.
 Before - picture. Dark oak made the kitchen feel very small. Notice the cabinets without crown molding. 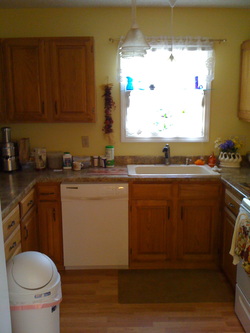 Before picture. 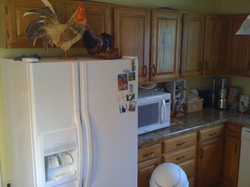 Before picture. |
 After - picture. Changed to a warm upscale off white. Crown molding added which immediately made these cabinets look like higher quality cabinets. Hardware was also changed. SpecialtyCabinetFinishes.com 
 After - picture. The recently added countertops now really stand out and work better than with the darker out of style oak. Once completed this kitchen had a whole new life. 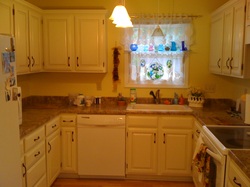 After - picture. The lighting was off here with the camera but you can get a better sense as to the size of the kitchen. Originally felt very enclosed and now is light and airy. |
Vinyl Coated Cabinets
 Before - picture. Here all of the cabinet doors were covered in a vinyl plastic veneer. This was torn off and painted in a similar color. 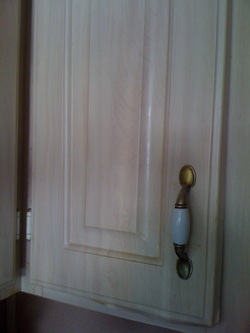 Before - picture. Here you can see the damaged vinyl peeling off of the particle board. 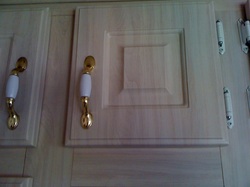 Before - picture of plastic vinyl wrapped cabinets. |
 After - picture. Here new hardware was added which closely resembled the original hardware as requested by the client. Once the vinyl plastic was peeled off, the particle board was sanded and cleaned up. This all was painted to a very nice finish. 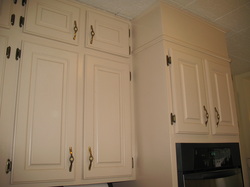 Once the vinyl was peeled off and the doors refinished, they looked completely different. Before you felt like you were in a kitchen made out of tupperware. What a difference paint and a little elbow grease can make. SpecialtyCabinetFinishes.com |